Saturday, December 31, 2011

Cheers to 2012!


I love a good year in review post and reading what has been accomplished in 2011 and also goals for 2012. So, here goes my list!

In the beginning of 2011, I caught the mom-gone-photographer bug. I starting picking up our good camera and learning how to use it. My husband has helped me learn about the technical things and using the camera in manual mode. At first, I had no idea what I was doing but I am learning and I am pretty happy about where I am with my skills. My goal was to document our life through photos but in a more candid way, and I believe I have done that. My goal for 2012 to is become an even better mom-tographer!

In June, we moved to North Carolina. I was a pain to pack it up and move but its the best thing we did this year. I am so happy here. I love our house (even though its technically not ours) our neighbors have been awesome and actually talk to each other. We even had a block party over the summer, lots of fun! Taylor started Kindergarten and she has an awesome teacher. She is doing so well too, she is one of the top 3 readers in her class! She also lost her first tooth, two actually.

I got very crafty and started cooking more this year. I used my crockpot more than ever. I became very inspired this year by reading lots of blogs, from crafts to recipes to photography. Thanks also to Pinterest which has made my list of projects a mile long! :)

Here is a quick photo recap of our year.....

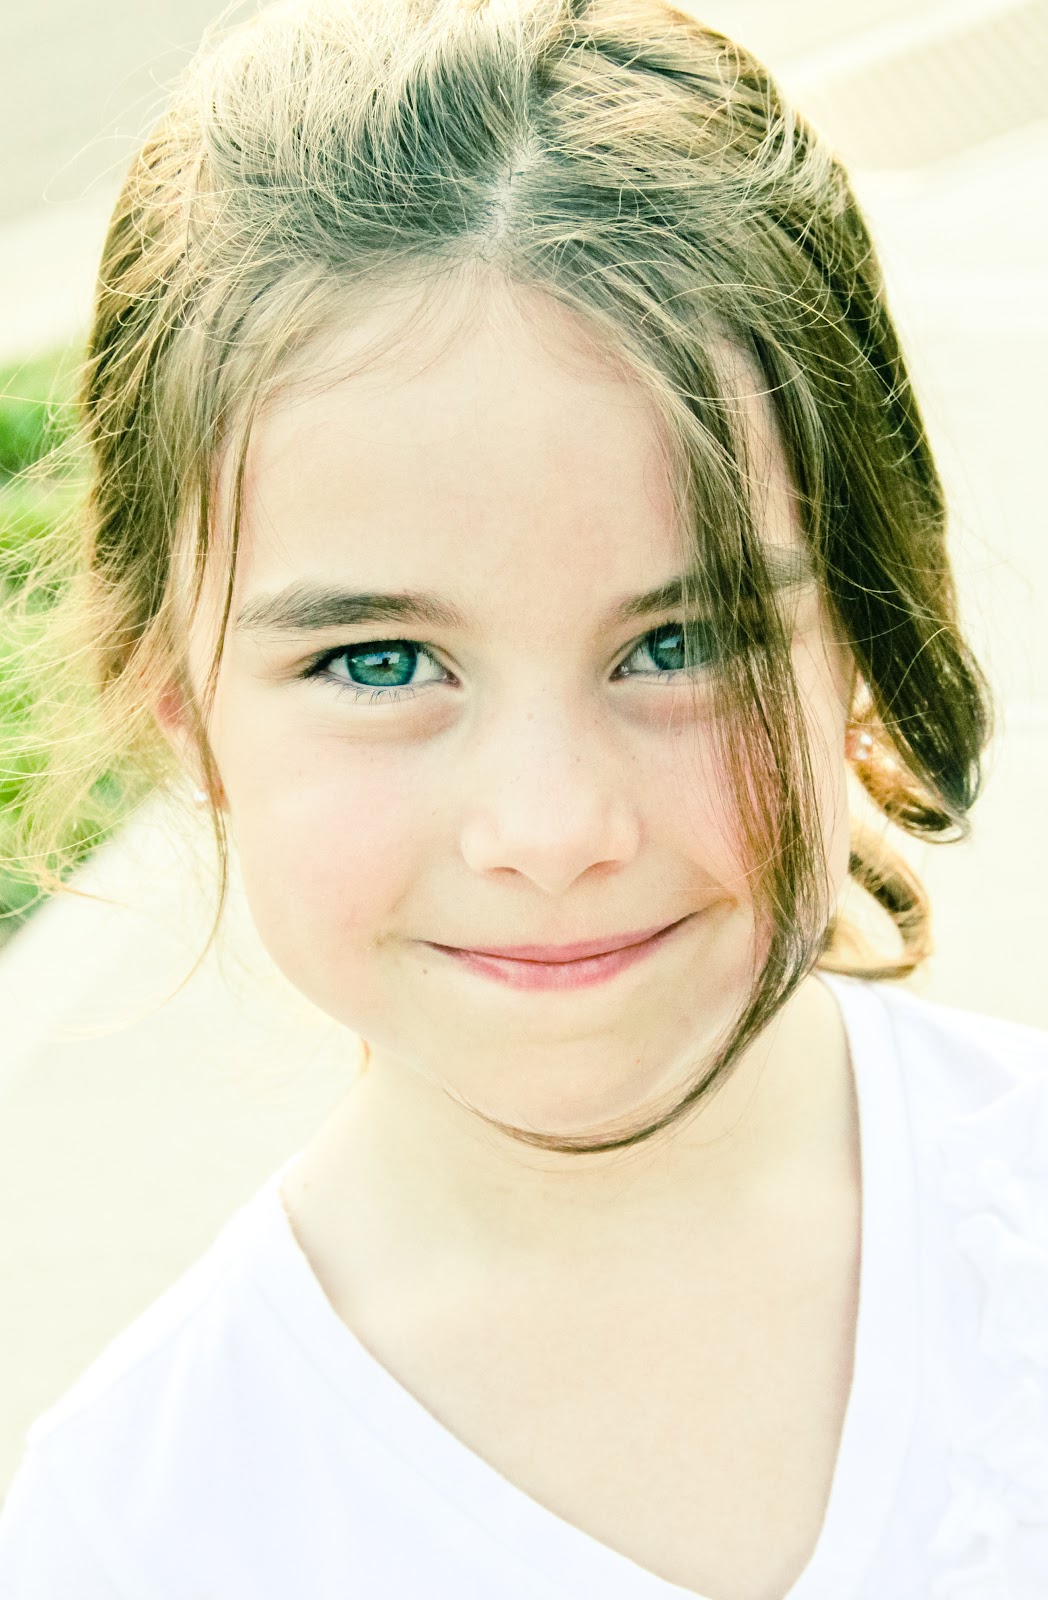
Beach outing in March in Florida - I love her crazy hair! 


My oldest graduated pre-K and started Kindergarten in the Fall 

In June we moved to North Carolina


Movies in the park over the summer


We spent a lot of time at the pool this summer! Taylor learned how to swim :) 


We had a Snow White birthday party for Teagan's 3rd birthday. It was a hit and this party was even featured on Kara's Party Ideas. What an honor! :)


We enjoyed seeing the leaves change in the fall 

We went to fall festivals and rode horses, not ponies, horses! 


Strawberry Shortcake & Supergirl for Halloween 


Both girls take dance class


Working more on my photog skillz


Taylor all dressed up to see the Nutcracker.  It was my first time and we both loved it!! 


 On the kids Christmas break, I hosted a movie in our basement for the neighborhood kids. A Polar Express pajama party! The LOVED it! 


What a great 2011! I didn't realize all we had done. All the fun times we had.

I have lots of ideas for next year and looking forward to sharing them all!

Have a safe & happy new year :)


Friday, December 16, 2011

I'm still alive!


It's been sooo long since my last blog post! Ever since Halloween, it's been non-stop...between working, taking care of the kids, crafting, planning my sister's baby shower, & laundry it seems to never end. I'm amazed how some people seem to keep it all together around the end of the year! But, I know the word "seem" is the key word here. We can't do it all, and although it may seem that way we need to remind ourselves to take a breather. For me, I had to put blogging on the back burner because I had so much else going on.

So, what's been new with me? Well, we had a fun filled fall with several festivals, pumpkin carving, and trick or treating. I planned and pulled off a very successful winter wonderland baby shower at the beginning of Dec. I will work on getting that post up soon! Now, we get ready for winter break. I have some fun things planned, like a Polar Express Pajama Movie Party next week for some of our neighborhood friends. Nothing formal, just kids in their jammies, hot chocolate, popcorn, and The Polar Express. If you have not seen the movie, I HIGHLY recommend it! Maybe bake & decorate some cookies and see the new Chipmunk movie (it looks so cute!).

Here is a photo recap of the past 2 months!


I can't wait to come back refreshed and better than ever in 2012!  

L,
Nicole 


Monday, October 17, 2011

Halloween Pinspirations!


There is a bunch of DIY Halloween goodness going on out there in the world! So, I thought I'd share some of my favorite ideas, most are pretty easy and do not require much effort or money. Pick one of these and your kids will think you are pretty cool ;)


Supplies: White balloons, glow sticks, and a Sharpie. Super easy!

Spider Web Coffee Filters via Dollar Store Crafts

This would be cute to add to your mantel or around your front door. 

Tissue paper pumpkins via Martha Stewart


Cookie ingredients are Keebler Fudge stripe cookies (turned upside down), Hershey Kisses attached with orange Wilton tube icing. Soooo easy!

Spider Lollipops via Ohdeedoh

Masquerading Pumpkins via The Celebration Shoppe

You've Been BOO'D sign. via Grey Square Designs


Told ya these were good! Come check more Halloween goodies on my Pinterest board. 

Saturday, October 1, 2011

Halloween Yarn Wreath {DIY Craft}


Have you seen all these adorable yarn wreaths? I'm really in love with them. So simple, yet pretty. I have been feeling so inspired by all the DIY projects, especially on Pinterest. I decided to try it myself! It looked pretty easy, and you know what?!? It WAS!

Here are the materials you need:

  • Foam wreath - around $3
  • Yarn -$2-$3
  • Embellishments (felt flowers, wood letters, ribbon, etc.)
  • Scissors 
  • Ribbon for hanging - or you can you a wreath hanger too. 

Basically start wrapping the warn around the wreath. I did this while watching a Keeping up with the Kardashian's marathon on tv. It's a good idea to sit in front of the tv while doing this, it gets a little tedious but I actually enjoyed it. 


Now don't worry if you aren't getting it all lined up nice and neat. You will see when you go round and round with the yarn, you may end up overlapping pieces but that it ok. Trust me, it actually looks better when it's not perfectly straight. It adds texture to the wreath. 


This took about 45 minutes to go around the whole 12 inch wreath. I liked the way it turned out but I decided to do another go around the whole wreath one more time just to make it a little thicker. 

Next I added the wooden ghost and witch hat with hot glue. I bought these at Michael's for only 59 cents each. The Happy Halloween was also purchased at Michaels for $1.49 and I hot glued that as well. 


Easy, right?!? Even better it's inexpensive too! 

I am going to start working on a Fall/Thanksgiving wreath next. Not with yarn but with the tons of burlap I have left over from my daughter's party. 

I'm loving this! :)


Tuesday, September 27, 2011

Toffee Chocolate Chip Cookies {Recipe}


Last year I was invited to a Cookie Exchange party by my friend Rocio. You know, where each person makes a bunch of cookies along with the recipe to share & exchange with the other guests. You end up leaving with a slew of goodies from each person. What a great & fun idea! One problem. I had NEVER made cookies from scratch before. My idea of making cookies was to buy the pull apart Tollhouse cookies and pop them in the oven. I began searching the web and asking for help on Facebook. I needed something that didn't require much culinary skill or fancy kitchen gadgets. I found this recipe on Our Best Bites. This is a really great site for recipes, Toffee Chocolate Chip Cookies. I know, so creative! LOL I could of come up with something with a little more pizzazz but I absolutely love toffee and thought a cookie with some Heath bar sounded yummy!


Toffee Chocolate Chip Cookies
2 1/4 c. all-purpose flour
1 tsp. baking soda
1/2 tsp. salt
1/2 c. (1 stick) butter
1/4 c. Smart Balance margarine (or similarly high-quality margarine)
3/4 c. white sugar
3/4 c. packed DARK brown sugar
1 tsp. vanilla extract
2 eggs
1 c. Heath bits
3/4 c. semi-sweet chocolate chips*
1/4 c. white chocolate chips*


*You can use 1 c. chocolate chips instead of splitting it up between the semi-sweet and white chocolate chips, but the white chocolate chips make these cookies extra-special.

Preheat oven to 375. In a small mixing bowl, combine flour, baking soda, and salt. Set aside.


Combine brown sugar, white sugar, butter, margarine, and vanilla in a large bowl until well-blended. Add in eggs and beat well. Slowly add in flour mixture and mix until combined. Add in chocolate and white chocolate chips and then mix the toffee bits until they're just combined. Drop dough (I use a cookie scoop) onto the cookie sheets 
and bake 8-10 minutes (8 is perfect in my oven, but each one is different) until the cookies are lightly brown. Allow to cool on cookie sheets for about 5 minutes and then transfer to a cooling rack and cool completely. The cooling rack is very important in this recipe because the toffee will make the cookies stick to the pan if you're not careful.

Having two cute helpers make the cookies extra extra special! 


I've made these cookies about a dozen times since that party and my whole family loves them. If you want something sweet and simple, these are the way to go! 

Enjoy!

L,
Nicole